Start with a controlled observation
A leak can make the compressor cycle when no tool is running, lengthen recovery time and reduce pressure at the point of use. The sound may be obvious, or it may disappear into normal workshop noise.
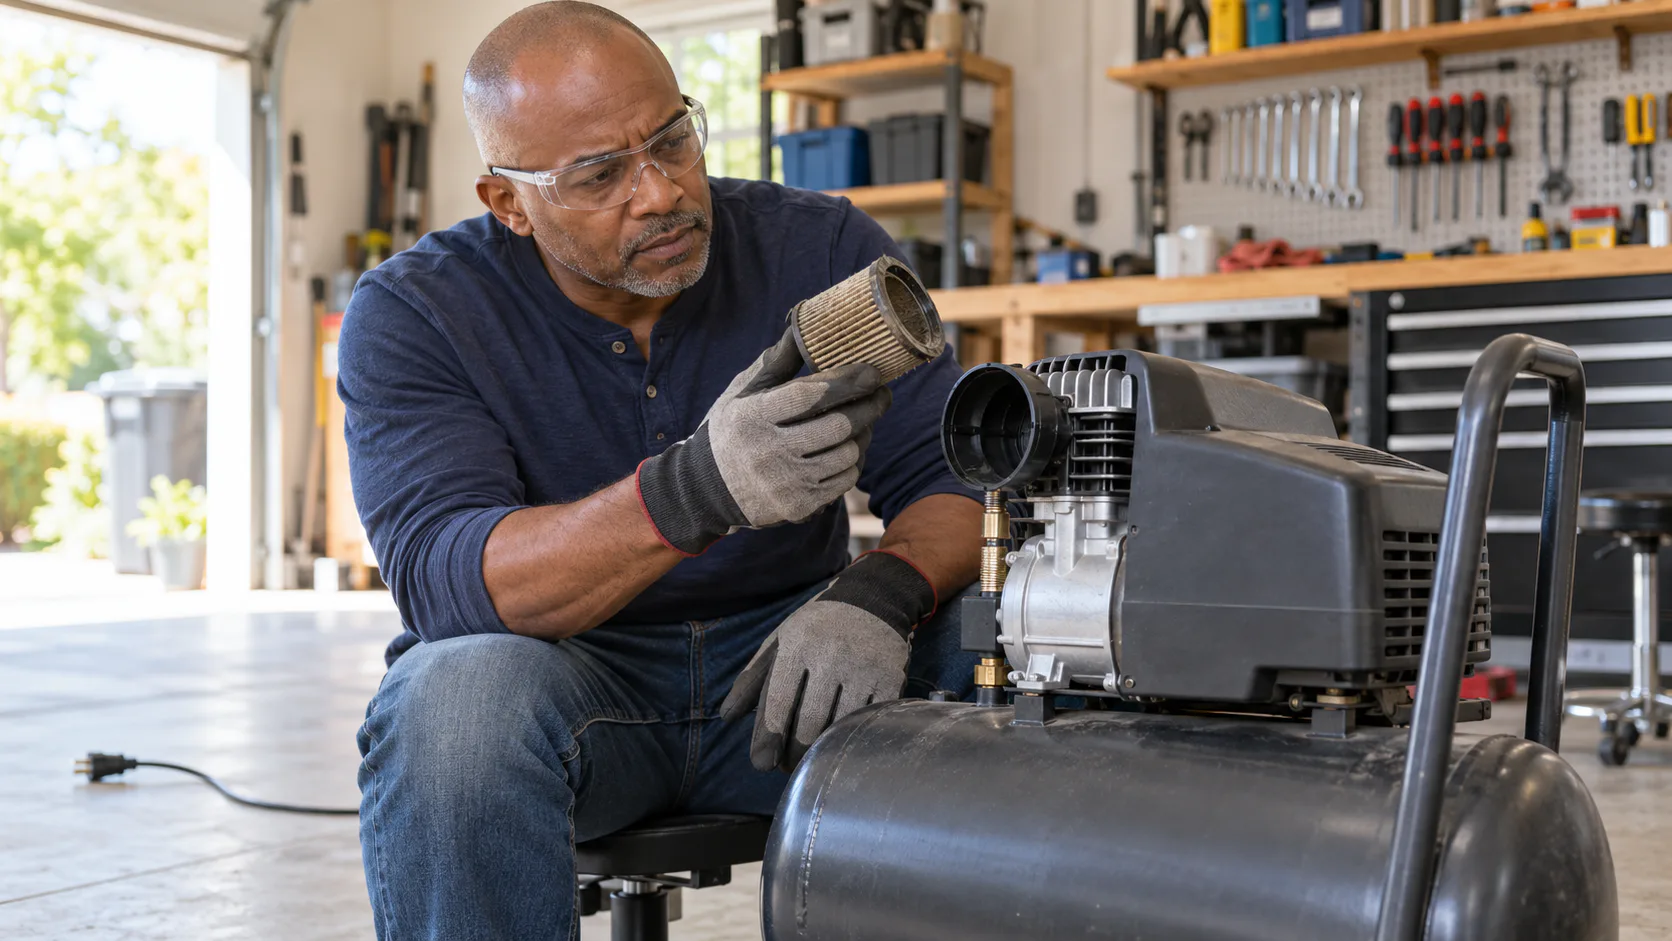
Begin with a visual inspection while the system is powered off. Look for a damaged hose, loose coupler sleeve, cracked filter bowl, open drain or fitting that has moved. Do not touch exposed wiring or dismantle a pressurized part.
Pressurize the system only for the observation step described by the equipment maker. Once the leak location is marked, isolate power and release all pressure before tightening, removing or replacing anything.
Check in a fixed order
Moving from the compressor toward the tool keeps the search organized:
- Receiver drain and its seal.
- Tank outlet and manifold joints.
- Regulator and filter bowl.
- Quick-connect couplers and plugs.
- Hose end crimps and the hose body.
- Swivels, tees and inline accessories.
- Tool inlet and trigger valve.
Listen at each point without placing your face or hand close to a suspected jet. Quincy Compressor includes connections, couplings, seals, gaskets and control valves among common leak locations.
Use leak-detection solution on pneumatic joints
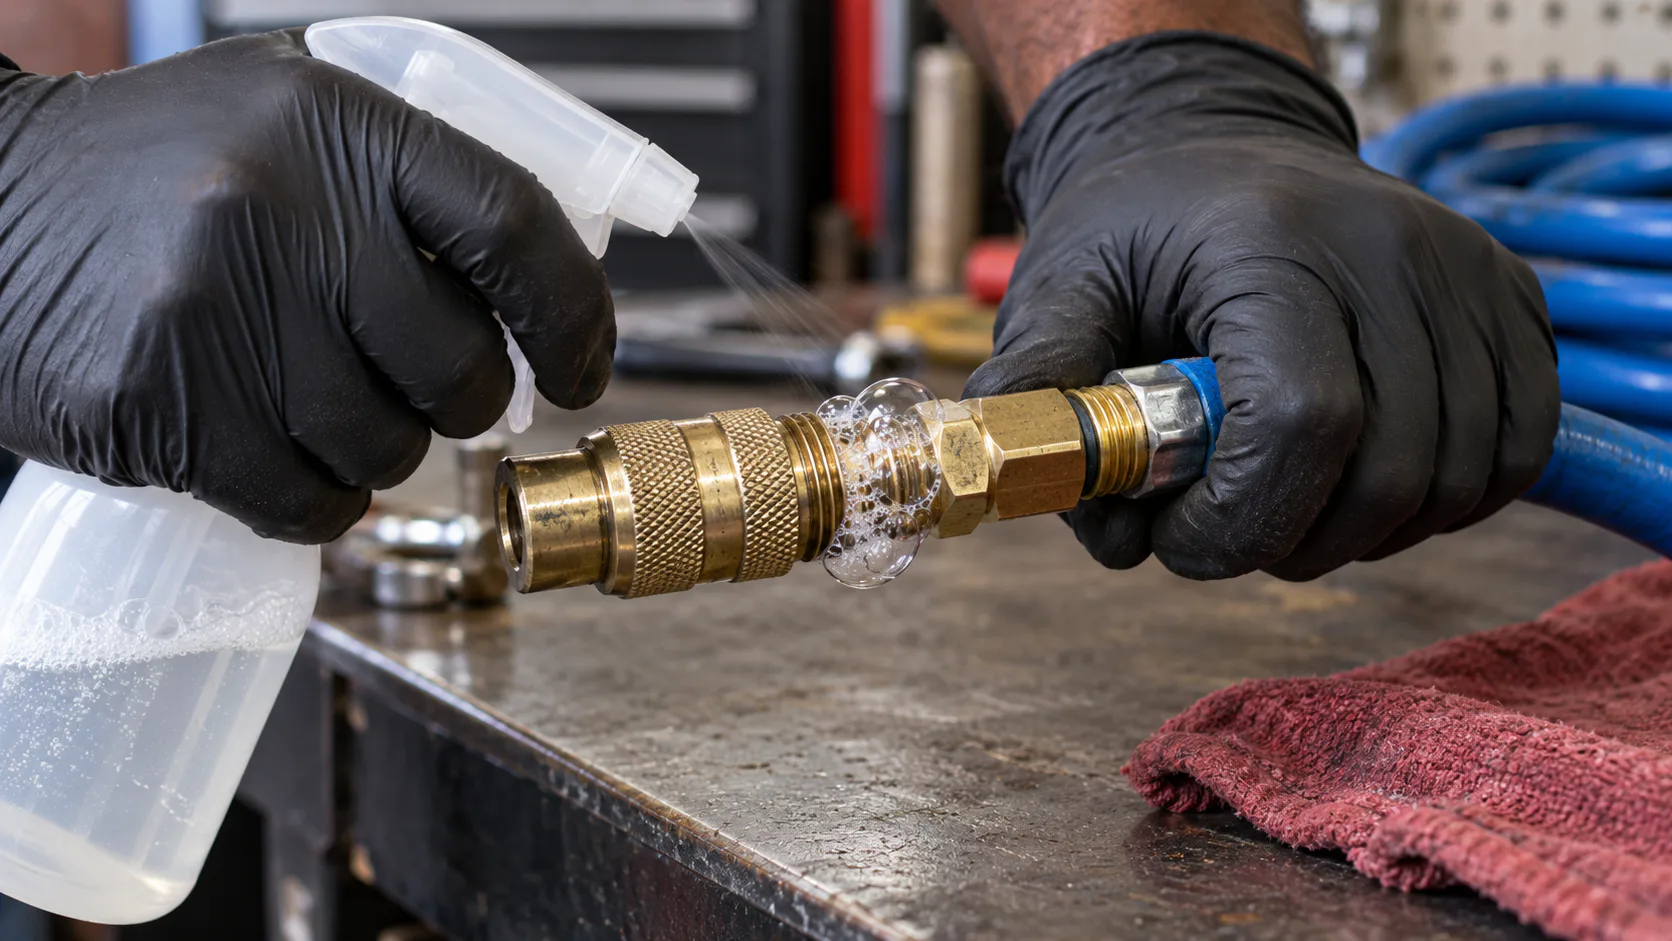
For an accessible air fitting, apply a small amount of approved leak-detection solution around the joint while it is under the test pressure permitted by the manufacturer. Escaping air creates growing bubbles at the leak path.
Distinguish new bubbles from foam created by spraying. Give the solution time to settle, then watch whether a bubble grows from one point. Mark the location so it can be repaired after shutdown.
Keep the solution away from motors, switches, outlets and other electrical parts. Do not spray a hot pump or an unprotected electrical enclosure. After the observation, disconnect power, isolate the air supply and fully depressurize the component before repair.
Thread sealant and tightening requirements depend on the fitting and manual. More tape or more torque is not a universal cure. A damaged thread, seal, O-ring, coupler or hose may need replacement.
Listen before buying a detector
In a quiet space, a hiss can narrow the search. Stop nearby tools and ventilation equipment if that can be done safely. Move along the air path and listen for a change.
Sound alone has limits. A tiny leak may be inaudible, and workshop noise can mask it. Kaeser and Atlas Copco describe ultrasonic detectors as tools that sense high-frequency energy produced by turbulent escaping air. They can help in noisy environments and around larger fixed systems.
An ultrasonic reading still needs confirmation at the component. Detector sensitivity, distance, reflections and operator technique affect the result. Follow the detector instructions and tag each suspected point for a controlled repair.
Isolate sections when possible
If a long system loses pressure, close approved isolation valves one section at a time. A pressure loss that stops after one branch is isolated points the search toward that branch.
For a small portable setup, remove accessories one at a time. Test the compressor and receiver, then add the regulator, hose and tool in sequence. Use plugs or caps rated for the system and permitted by the manual.
Compressed air cools after shutdown, so a falling gauge does not automatically prove a leak. Compare readings after temperature has stabilized and use the manufacturer's test interval where one is provided.
Common repair decisions
| Leak location | What to inspect after depressurizing |
|---|---|
| Threaded fitting | Damaged threads, wrong sealant, loose joint |
| Quick coupler | Worn seal, damaged plug, dirt, sleeve operation |
| Hose end | Cracked cover, failed crimp, damaged swivel |
| Filter or regulator | Bowl seal, drain, body joint, damaged housing |
| Receiver drain | Debris, damaged valve, corrosion, failed seal |
| Tool inlet | Plug threads, inlet seal, trigger-valve leakage |
Replace a hose with a damaged reinforcement layer, blister, deep cut or failed crimp. Do not patch a pressure vessel. Significant receiver corrosion, deformation or leakage around a weld needs professional inspection.
Recheck after repair
Return the system to service by the manual, pressurize it and repeat the same observation. Remove the tag only when the joint remains stable.
Then check the tool under flow. Air that escapes before the tool reduces the supply available to it, but the size of that loss has to be measured before assigning a CFM figure. Do not guess a leak rate from the compressor's remaining capacity.
If the tool remains weak after leaks are repaired, continue with the tank-to-tool pressure check and the guide to hose length and diameter.
Sources checked
- How Do You Fix Leaks in an Air Compressor System?, Quincy Compressor, checked 2026-10-12
- How to detect and fix compressed air leaks, Kaeser, checked 2026-10-12
- Compressed Air Leakage Detection and Prevention, Atlas Copco, checked 2026-10-12
Manufacturer pages can change. Follow the exact manuals for test pressure, isolation, depressurization and repair.